在本章中,我们将介绍如何使用Razor语法创建输入表单以及如何处理用户输入.
表单是HTML文档的一部分,您可以在其中放置用户输入控件,如文本框,复选框,单选按钮和下拉列表.
当您想收集和处理用户输入时,您可以使用表格.
让我们通过创建一个带有 MyForm.cshtml 名称的新cshtml文件来查看一个简单示例,并将代码替换为以下程序.
<!DOCTYPE html>
<html>

   <head>
      <title>Customer Form</title>
   </head>

   <body>
      <form method = "post" action = "">
         <fieldset>
            <legend>Add Student</legend>
            <div>
               <label for = "StudentName">Student Name: </label>
               <input type = "text" name = "StudentName" value = "" />
            </div>

            <div>
               <label for = "UniName">University Name:</label>
               <input type = "text" name = "UniName" value = "" />
            </div>

            <div>
               <label for = "Address">Res. Address:</label>
               <input type = "text" name = "Address" value = "" />
            </div>

            <div>
               <label> </label>
               <input type = "submit" value = "Submit" class = "submit" />
            </div>
         </fieldset>
      </form>

   </body>
</html>
现在让我们再次运行应用程序并指定以下url : http://localhost:46023/myform,然后您将看到以下输出.
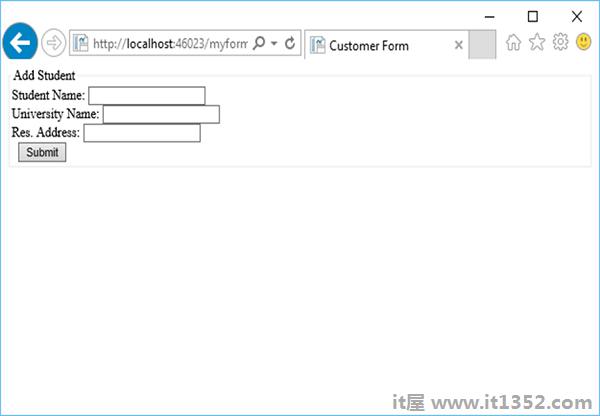
让我们在所有字段中输入一些数据,如下面的屏幕截图所示.
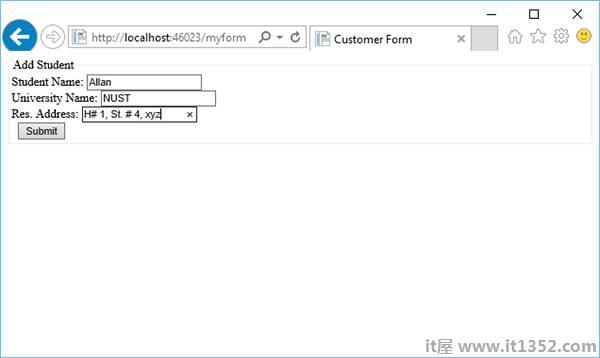
现在,当您单击"提交"按钮时,您将看到没有任何反应.为了使表单有用,我们需要添加一些将在服务器上运行的代码.
阅读从表单中的用户输入我们将添加一些代码,这些代码将读取所有字段中的值,然后根据需要处理它们.此过程向您展示如何阅读字段并在页面上显示用户输入.
让我们再次查看相同的示例,其中我们添加了一些代码来处理所有来自字段的值.
<!DOCTYPE html>
<html>
<head>
<title>Customer Form</title>
</head>
<body>
@{
if (IsPost){
string StudentName = Request["StudentName"];
string UniName = Request["UniName"];
string Address = Request["Address"];
<p>
You entered: <br />
Student Name: @StudentName <br />
University Name: @UniName <br />
Res. Address: @Address <br />
</p>
} else{
<form method = "post" action = "">
<fieldset>
<legend>Add Student</legend>
<div>
<label for = y"StudentName">Student Name: </label>
<input type = "text" name = "StudentName" value = "" />
</div>
<div>
<label for = "UniName">University Name:</label>
<input type = "text" name = "UniName" value = "" />
</div>
<div>
<label for = "Address">Res. Address:</label>
<input type = "text" name="Address" value = "" />
</div>
<div>
<label> </label>
<input type = "submit" value = "Submit" class = "submit" />
</div>
</fieldset>
</form>
}
}
</body>
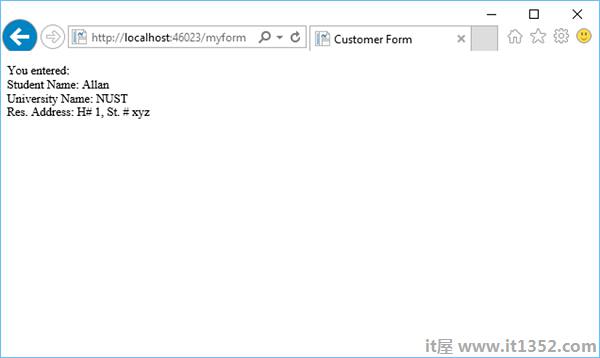
</html>现在让我们再次运行应用程序并指定以下url : http://localhost:46023/myform 然后你会看到以下输出.
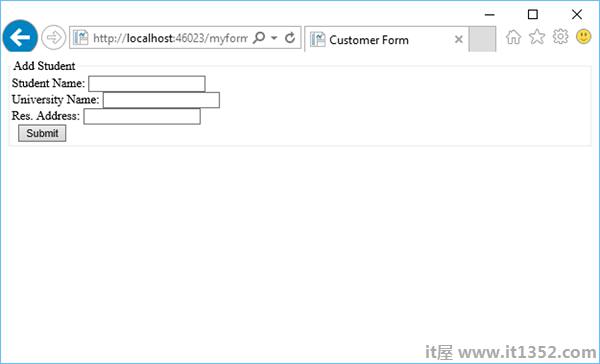
让我们在所有字段中输入一些数据.

现在,当您单击"提交"按钮时,您将看到以下输出.
让我们通过在项目中创建一个新文件夹并将其命名为图像来查看另一个简单示例然后在该文件夹中添加一些图像.
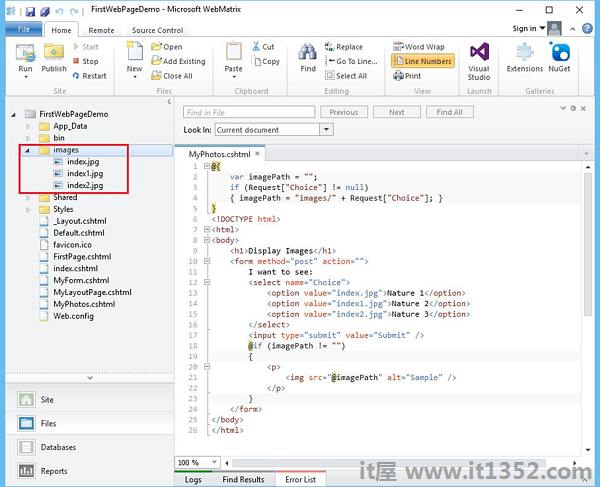
现在添加另一个带有 MyPhotos.cshtml 名称的cshtml文件并替换以下代码.
@{
var imagePath = "";
if (Request["Choice"] != null)
{ imagePath = "images/" + Request["Choice"]; }
}
<!DOCTYPE html>
<html>
<body>
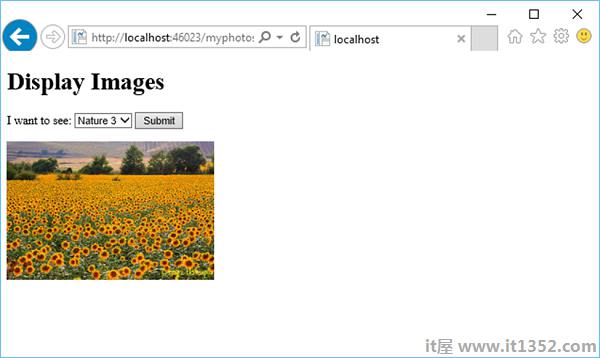
<h1>Display Images</h1>
<form method = "post" action = "">
I want to see:
<select name = "Choice">
<option value = "index.jpg">Nature 1</option>
<option value = "index1.jpg">Nature 2</option>
<option value = "index2.jpg">Nature 3</option>
</select>
<input type = "submit" value = "Submit" />
@if (imagePath != ""){
<p><img src = "@imagePath" alt = "Sample" /></p>
}
</form>
</body>
</html>正如您所看到的,我们已经添加了一些jpg文件的引用,这些文件位于images文件夹中,如下面的屏幕截图所示.
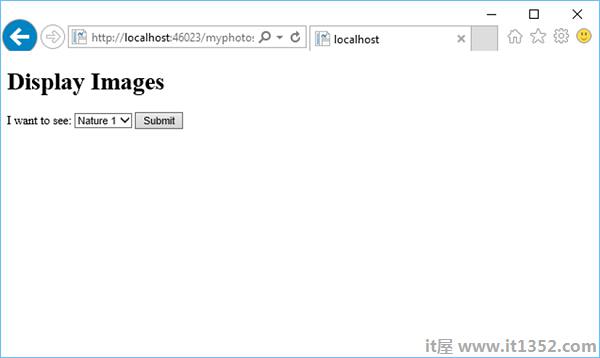
运行应用程序并指定以下url : http://localhost:46023/myphotos 然后你会看到以下输出.
让我们点击提交,您将看到页面上已加载 index.jpg 文件.
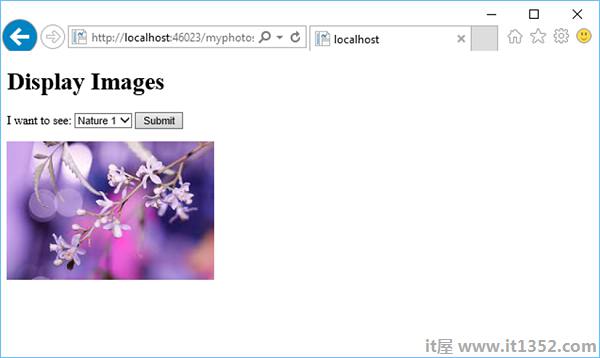
从下拉列表中选择另一张照片时,让我们说Nature 3并点击提交,然后它将更新页面上的照片,如下图所示.