在本章中,我们将了解如何使用Xamarin创建一个小型Android应用程序.
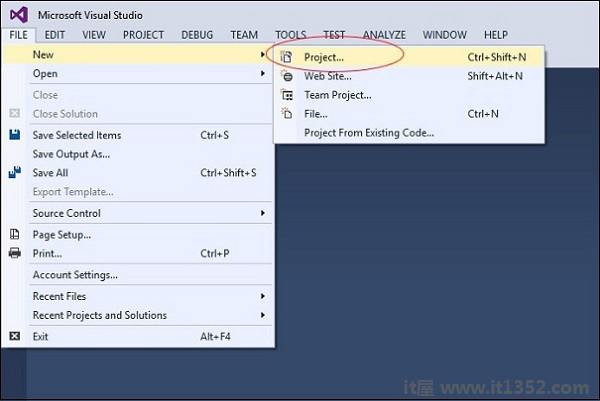
首先,启动Visual Studio的新实例并转到 File → 新的 → 项目.
在"菜单"对话框中出现,转到 Templates → Visual C# → Android → 空白应用程序(Android).
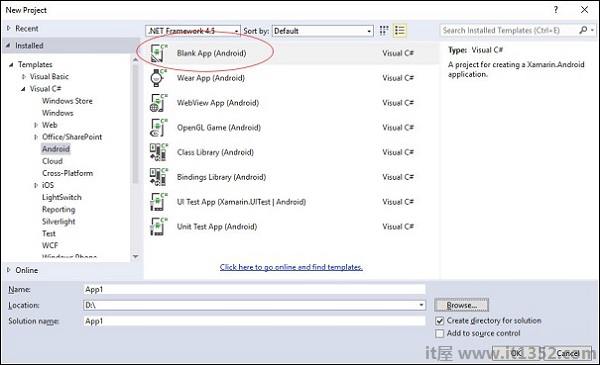
为您的应用程序指定适当的名称.在我们的例子中,我们将其命名为"helloWorld"并将其保存在提供的默认位置.接下来,单击要加载的新"helloXamarin"项目的"确定"按钮.
在解决方案上,打开资源 → 布局 → Main.axml 文件.从设计视图切换并转到源文件并键入以下代码行来构建您的应用.
<?xml version = "1.0" encoding = "utf-8"?>
<LinearLayout xmlns:android = "http://schemas.android.com/apk/res/android"
   android:orientation = "vertical"
   android:background = "#d3d3d3"
   android:layout_width = "fill_parent"
   android:layout_height = "fill_parent">
   <TextView
      android:text = "@string/HelloXamarin"
      android:textAppearance = "?android:attr/textAppearanceLarge"
      android:layout_width = "match_parent"
      android:layout_height = "wrap_content"
      android:id = "@+id/textView2"
      android:textColor = "@android:color/black" />
</LinearLayout>
在上面的代码中,我们创建了一个新的Android textview .接下来,打开文件夹值,然后双击 Strings.xml 将其打开.在这里,我们将存储有关上面创建的按钮的信息和值.
<?xml version = "1.0" encoding = "utf-8"?>
<resources>
   <string name = "HelloXamarin">Hello World, I am Xamarin!</string>
   <string name = "ApplicationName">helloWorld</string>
</resources>
打开 MainActivity.cs 文件,并使用以下代码行替换现有代码.
using System;
using Android.App;
using Android.Content;
using Android.Runtime;
using Android.Views;
using Android.Widget;
using Android.OS;
namespace HelloXamarin {
public class MainActivity : Activity {
protected override void OnCreate(Bundle bundle) {
base.OnCreate(bundle);
SetContentView(Resource.Layout.Main);
}
}
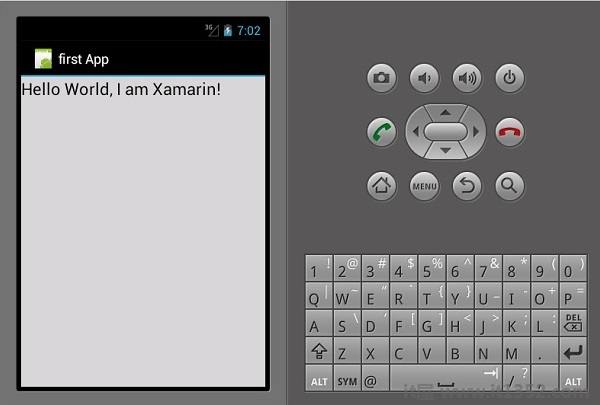
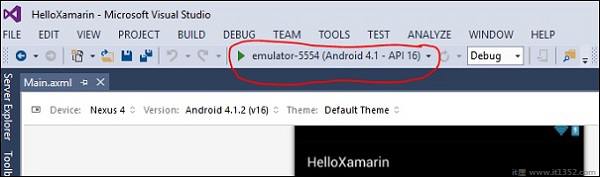
}保存应用程序.构建然后运行它以在Android模拟器中显示创建的应用程序.
如果您没有Android模拟器,请按照下一节中给出的步骤创建一个.
在Visual Studio菜单上,转到 Tools → Android → Android模拟器管理器.在出现的弹出窗口中,单击创建按钮.它将显示以下屏幕.
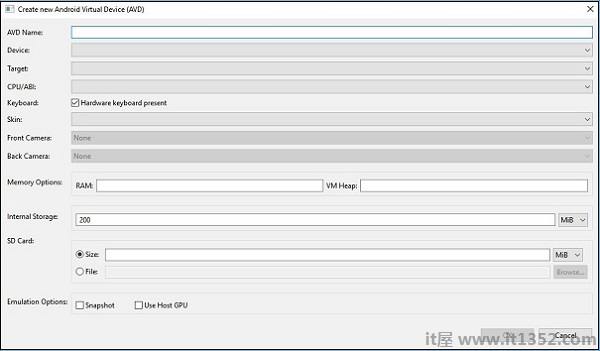
在上面的屏幕上,提供您想要的 AVD名称.选择适合您显示器的设备,例如Nexus 4"显示器.选择目标平台.始终建议在最低目标平台上进行测试,例如API 10 Android 2.3(Gingerbread),以确保您的应用程序适用于所有Android平台.
填写其余的字段,然后单击确定按钮.您的模拟器现已准备就绪.您可以从现有Android虚拟设备列表中选择它,然后单击开始启动它.
在本节中,我们将修改项目并创建一个按钮,该按钮将在单击时显示文本.打开 main.axml 并切换到源视图.在我们创建的 textview 之后,我们将添加一个按钮,如下所示.
<Button
   android:id = "@+id/MyButton"
   android:layout_width = "fill_parent"
   android:layout_height = "wrap_content"
   android:text = "@string/ButtonClick" />
添加按钮后,我们的完整代码将显示为 :
<?xml version = "1.0" encoding = "utf-8"?>
<LinearLayout xmlns:android = "http://schemas.android.com/apk/res/android"
   android:orientation = "vertical"
   android:layout_width = "fill_parent"
   android:layout_height = "fill_parent">
   <TextView
      android:text = "@string/HelloXamarin"
      android:textAppearance = "?android:attr/textAppearanceLarge"
      android:layout_width = "match_parent"
      android:layout_height = "wrap_content"
      android:id = "@+id/textView2" />

   <Button
      android:id = "@+id/MyButton"
      android:layout_width = "fill_parent"
      android:layout_height = "wrap_content"
      android:text = "@string/ButtonClick" />
</LinearLayout>
接下来,我们在 strings.xml 文件中注册我们的按钮值.
< string name ="ButtonClick">点击我!</string>
在 strings.xml 文件中添加我们的按钮后,我们将打开 MainActivity.cs 文件单击按钮时为其添加操作,如下面的代码所示.
using System;
using Android.App;
using Android.Content;
using Android.Runtime;
using Android.Views;
using Android.Widget;
using Android.OS;
namespace HelloXamarin {
[Activity(Label = "HelloXamarin", MainLauncher = true, Icon = "@drawable/icon")]
public class MainActivity : Activity {
protected override void OnCreate(Bundle bundle) {
base.OnCreate(bundle);
SetContentView(Resource.Layout.Main);
Button button = FindViewById<Button>(Resource.Id.MyButton);
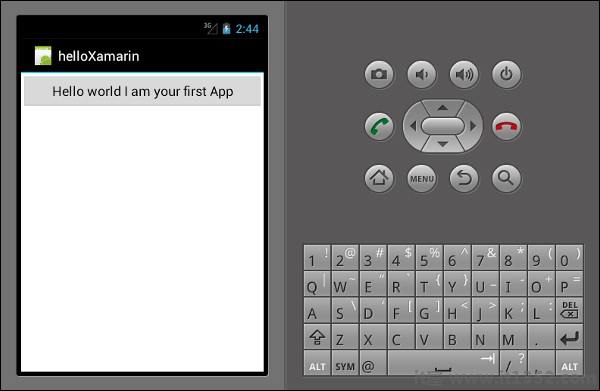
button.Click += delegate { button.Text = "Hello world I am your first App"; };
}
}
}接下来,构建并运行您的应用程序.
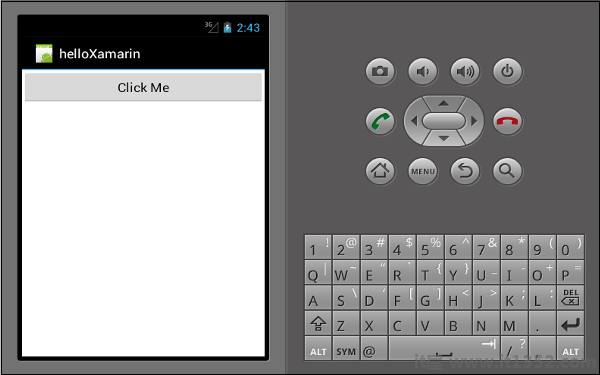
单击按钮后,您将得到以下输出 :