路由事件是一种事件,可以在元素树中的多个侦听器上调用处理程序,而不仅仅是引发事件的对象.它基本上是一个由Routed Event类的实例支持的CLR事件.它在WPF事件系统中注册. RoutedEvents有三种主要的路由策略,如下 :
直接事件
冒泡事件
隧道事件
直接事件类似Windows窗体中由事件发起的元素引发的事件.
与标准CLR事件不同,直接路由事件支持类处理,它们可用于事件设置器和事件触发器符合您的自定义控件的风格.
直接事件的一个很好的例子是MouseEnter事件.
冒泡事件以发生事件的元素开始.然后它沿着可视树向上移动到可视树中的最顶层元素.因此,在WPF中,最顶层的元素很可能是一个窗口.
调用元素树根上的事件处理程序,然后调用事件沿着可视树向下移动到所有子节点,直到它到达事件发生的元素.
冒泡和隧道事件之间的区别在于隧道事件将始终开始预览.
在WPF应用程序中,事件通常实现为隧道/冒泡对.因此,您将预览MouseDown,然后是MouseDown事件.
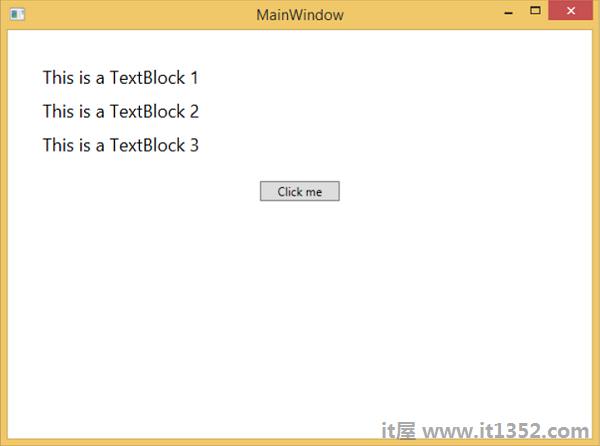
下面给出了一个Routed事件的简单示例,其中创建了一个按钮和三个文本块,其中包含一些属性和事件.
<Window x:Class = "WPFRoutedEvents.MainWindow"
   xmlns = "http://schemas.microsoft.com/winfx/2006/xaml/presentation"
   xmlns:x = "http://schemas.microsoft.com/winfx/2006/xaml"
   Title = "MainWindow" Height = "450" Width = "604" ButtonBase.Click  = "Window_Click" >

   <Grid>
      <StackPanel Margin = "20" ButtonBase.Click = "StackPanel_Click">

         <StackPanel Margin = "10">
            <TextBlock Name = "txt1" FontSize = "18" Margin = "5" Text = "This is a TextBlock 1" />
            <TextBlock Name = "txt2" FontSize = "18" Margin = "5" Text = "This is a TextBlock 2" />
            <TextBlock Name = "txt3" FontSize = "18" Margin = "5" Text = "This is a TextBlock 3" />
         </StackPanel>

         <Button Margin = "10" Content = "Click me" Click = "Button_Click" Width = "80"/>
      </StackPanel>
   </Grid>

</Window>
以下是Button,StackPanel和Window的Click事件实现的C#代码.
using System.Windows;

namespace WPFRoutedEvents {
   /// <summary>
      /// Interaction logic for MainWindow.xaml
   /// </summary>

   public partial class MainWindow : Window {

      public MainWindow() {
         InitializeComponent();
      }

      private void Button_Click(object sender, RoutedEventArgs e) {
         txt1.Text = "Button is Clicked";
      }

      private void StackPanel_Click(object sender, RoutedEventArgs e) {
         txt2.Text = "Click event is bubbled to Stack Panel";
      }

      private void Window_Click(object sender, RoutedEventArgs e) {
         txt3.Text = "Click event is bubbled to Window";
      }

   }
}
当你编译并执行上面的代码时,它会产生以下窗口&减去;
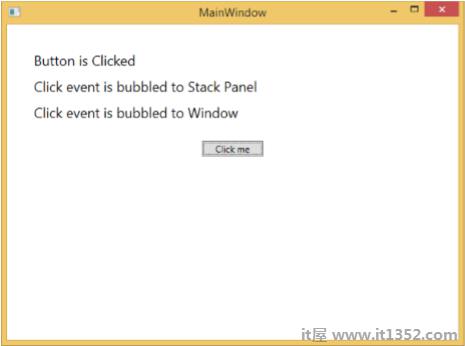
当您点击按钮时,文本块将更新,如下所示.
如果你想在任何特定级别停止路由事件,那么你需要设置e.Handled = true;
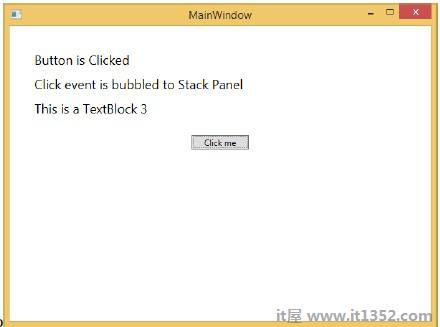
让我们改变 StackPanel_Click 事件如下所示 :
private void StackPanel_Click(object sender, RoutedEventArgs e) {
   txt2.Text = "Click event is bubbled to Stack Panel";
   e.Handled = true;
}
当您点击按钮时,您会发现点击事件不会被路由到窗口并停在堆栈面板上并且不会更新3 rd 文本块.
在.NET框架中,还可以定义自定义路由事件.您需要按照下面给出的步骤在C#中定义自定义路由事件.
声明并注册您的路由事件系统调用RegisterRoutedEvent.
指定路由策略,即冒泡,隧道或直接.
提供事件处理程序.
让我们举个例子来了解有关自定义路由事件的更多信息.按照下面给出的步骤&减去;
使用WPFCustomRoutedEvent创建一个新的WPF项目
右键单击您的解决方案,然后选择添加>新项目......
将打开以下对话框,现在选择自定义控件(WPF)并将其命名为 MyCustomControl .
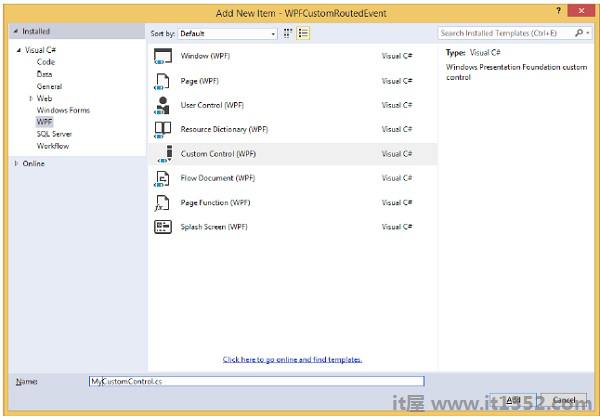
单击添加按钮,您将看到两个新文件(Themes/Generic.xaml和MyCustomControl) .cs)将添加到您的解决方案中.
以下XAML代码为Generic.xaml文件中的自定义控件设置样式.
<ResourceDictionary
   xmlns = "http://schemas.microsoft.com/winfx/2006/xaml/presentation"
   xmlns:x = "http://schemas.microsoft.com/winfx/2006/xaml"
   xmlns:local = "clr-namespace:WPFCustomRoutedEvent">

   <Style TargetType = "{x:Type local:MyCustomControl}">
      <Setter Property = "Margin" Value = "50"/>
      <Setter Property = "Template">
         <Setter.Value>
            <ControlTemplate TargetType = "{x:Type local:MyCustomControl}">

               <Border Background = "{TemplateBinding Background}"
                  BorderBrush = "{TemplateBinding BorderBrush}"
                  BorderThickness = "{TemplateBinding BorderThickness}">
                  <Button x:Name = "PART_Button" Content = "Click Me" />
               </Border>

            </ControlTemplate>
         </Setter.Value>
      </Setter>
   </Style>

</ResourceDictionary>
以下是 MyCustomControl类的C#代码,它继承自 Control类自定义路由事件Click是为自定义控件创建的.
using System.Windows;
using System.Windows.Controls;

namespace WPFCustomRoutedEvent {

   public class MyCustomControl : Control {

      static MyCustomControl() {
         DefaultStyleKeyProperty.OverrideMetadata(typeof(MyCustomControl),
            new FrameworkPropertyMetadata(typeof(MyCustomControl)));
      }

      public override void OnApplyTemplate() {
         base.OnApplyTemplate();

         //demo purpose only, check for previous instances and remove the handler first
         var button  =  GetTemplateChild("PART_Button") as Button;
         if (button ! =  null)
         button.Click + =  Button_Click;
      }

      void Button_Click(object sender, RoutedEventArgs e) {
         RaiseClickEvent();
      }

      public static readonly RoutedEvent ClickEvent  =
         EventManager.RegisterRoutedEvent("Click", RoutingStrategy.Bubble,
         typeof(RoutedEventHandler), typeof(MyCustomControl));

      public event RoutedEventHandler Click {
         add { AddHandler(ClickEvent, value); }
         remove { RemoveHandler(ClickEvent, value); }
      }

      protected virtual void RaiseClickEvent() {
         RoutedEventArgs args = new RoutedEventArgs(MyCustomControl.ClickEvent);
         RaiseEvent(args);
      }

   }
}
这是C#中的自定义路由事件实现,它将显示一个用户点击它时的消息框.
using System.Windows;

namespace WPFCustomRoutedEvent {
   // <summary>
      // Interaction logic for MainWindow.xaml
   // </summary>

   public partial class MainWindow : Window {

      public MainWindow() {
         InitializeComponent();
      }

      private void MyCustomControl_Click(object sender, RoutedEventArgs e) {
         MessageBox.Show("It is the custom routed event of your custom control");
      }

   }
}
以下是MainWindow.xaml中添加自定义控件的实现使用路由事件单击.
<Window x:Class = "WPFCustomRoutedEvent.MainWindow"
   xmlns = "http://schemas.microsoft.com/winfx/2006/xaml/presentation"
   xmlns:x = "http://schemas.microsoft.com/winfx/2006/xaml"
   xmlns:local = "clr-namespace:WPFCustomRoutedEvent"
   Title = "MainWindow" Height = "350" Width = "604">

   <Grid>
      <local:MyCustomControl Click = "MyCustomControl_Click" />
   </Grid>

</Window>
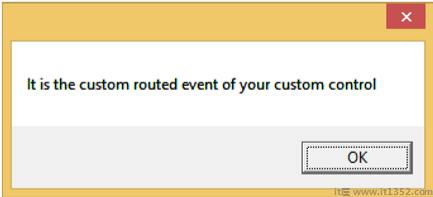
当编译并执行上述代码时,它将生成包含自定义控件的以下窗口.
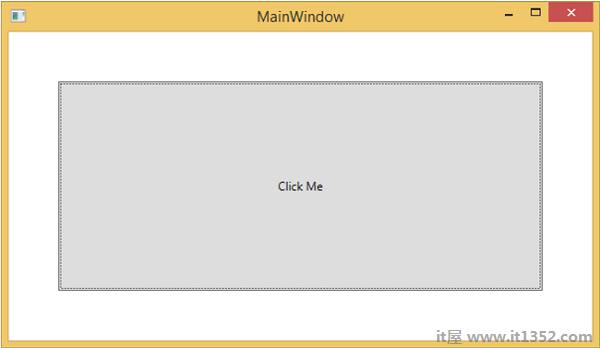
当您单击自定义控件时,它将生成以下消息.