在大图像中使用findCirclesGrid() [英] Using findCirclesGrid() in large images
问题描述
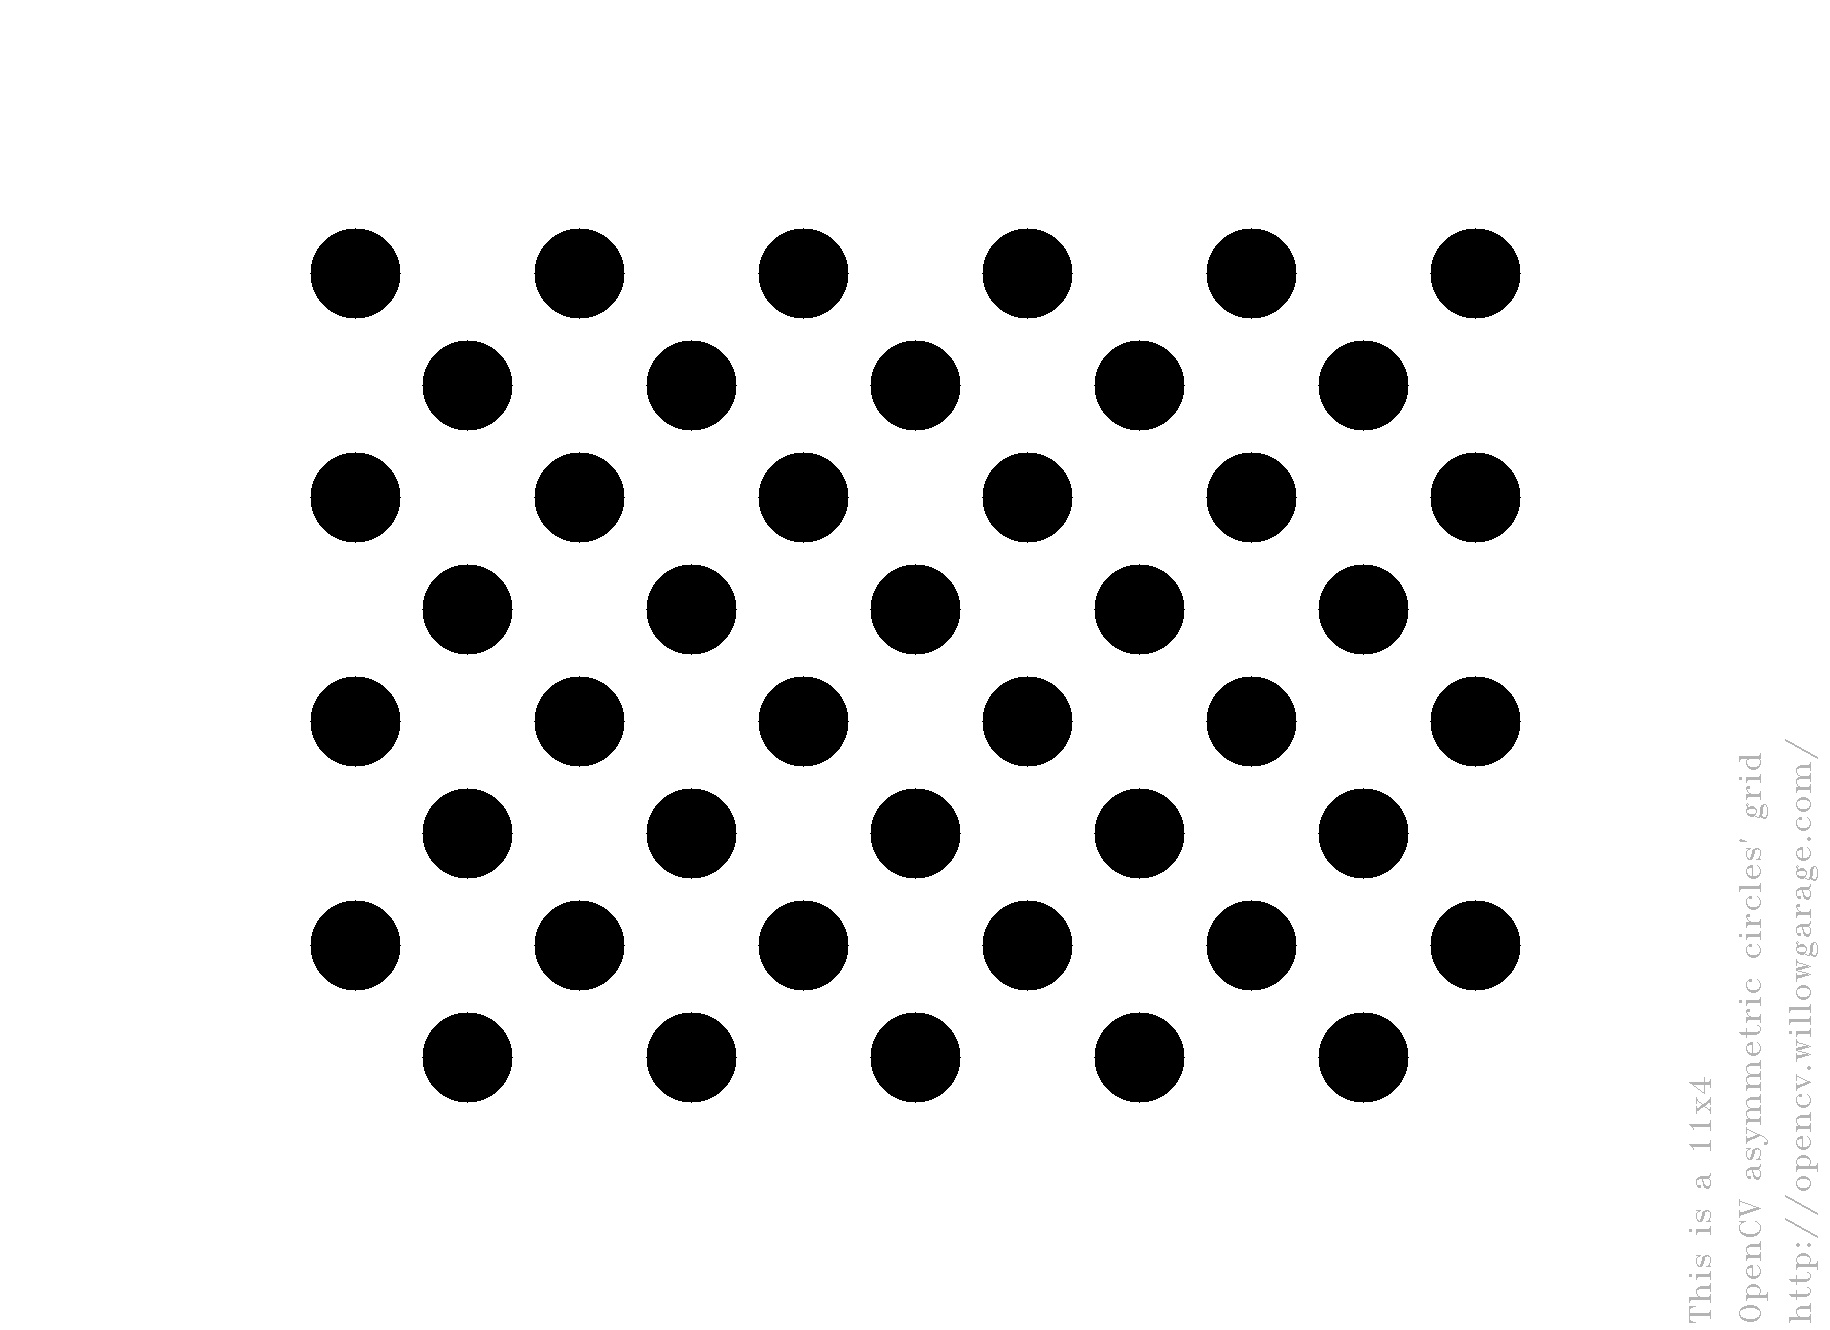
我正在Python 2.7中使用OpenCV 3来校准不同的相机.我使用了findCirclesGrid()函数,该函数成功地找到了一个 4 x 11圆圈图案 1百万像素图像.但是,当我尝试以更高的分辨率检测图像中附近的图案时,该功能将失败.当物体在图像中距离较远时,仍会检测到.我使用的功能如下:
I am using OpenCV 3 in Python 2.7 to calibrate different cameras. I use the findCirclesGrid() function, which succesfully finds a 4 by 11 circle pattern in a 1 Megapixel image. However, when I try to detect the pattern up close in an image with a higher resolution, the function fails. When the object is farther away in the image, it is still detected. I use the function as follows:
ret, corners = cv2.findCirclesGrid(image, (4, 11), flags=cv2.CALIB_CB_ASYMMETRIC_GRID)
对于较大的图像,它返回False, None.似乎该函数无法处理面积过大的圆.我尝试添加cv2.CALIB_CB_CLUSTERING,但这似乎没有什么不同.同样,似乎在C ++中,用户可以表示使用blobdetector,但在Python中则不能.详细信息: http://docs.opencv.org/2.4/modules /calib3d/doc/camera_calibration_and_3d_reconstruction.html#findcirclesgrid
With larger images, it returns False, None. It seems that the function can't handle circles that have a too large area. I tried adding cv2.CALIB_CB_CLUSTERING, but this doesn't seem to make a difference. Also, it seems that in C++ the user can signify the use of blobdetector, but not in Python. Details: http://docs.opencv.org/2.4/modules/calib3d/doc/camera_calibration_and_3d_reconstruction.html#findcirclesgrid
我可以以某种方式增加最大检测大小还是使函数以其他方式检测模式?
Can I increase the maximum detection size somehow or make the function detect the pattern in another way?
我发现了如何使用来编辑blobDetector的参数
I found out how to edit parameters of the blobDetector by using
params = cv2.SimpleBlobDetector_Params()
params.maxArea = 100000
detector = cv2.SimpleBlobDetector_create(params)
ret, corners = cv2.findCirclesGrid(self.gray, (horsq, versq), None,
                flags=cv2.CALIB_CB_ASYMMETRIC_GRID, blobDetector=detector)
尽管如此,还是一样.
Edit2:
现在添加cv2.CALIB_CB_CLUSTERING即可解决问题!
Now adding cv2.CALIB_CB_CLUSTERING resolves the issue!
推荐答案
您可能需要做的主要事情是调整Blob检测器的最小面积和最大面积. 创建一个带有参数的斑点检测器(不要使用默认参数),并调整检测器将接受的最小面积和最大面积.在将您创建的检测器传递到findcirclesgrid函数之前,您可以首先仅显示所有找到的blob.
The main thing you probably need to do is tweak the min area and max area of the blob detector. Create a blob detector with params (don't use the default parameters), and adjust the minarea and max area that the detector will accept. You can first just show all the found blobs before you pass the detector that you have created into the findcirclesgrid function.
Python示例代码
Python Sample code
params = cv2.SimpleBlobDetector_Params()
# Setup SimpleBlobDetector parameters.
print('params')
print(params)
print(type(params))


# Filter by Area.
params.filterByArea = True
params.minArea = 200
params.maxArea = 18000

params.minDistBetweenBlobs = 20


params.filterByColor = True
params.filterByConvexity = False

# tweak these as you see fit
# Filter by Circularity
# params.filterByCircularity = False
params.minCircularity = 0.2

# # # Filter by Convexity
# params.filterByConvexity = True
# params.minConvexity = 0.87

# Filter by Inertia
params.filterByInertia = True
# params.filterByInertia = False
params.minInertiaRatio = 0.01

detector = cv2.SimpleBlobDetector_create(params)

# Detect blobs.
keypoints = detector.detect(gray)

im_with_keypoints = cv2.drawKeypoints(img, keypoints, np.array([]), (0, 0, 255), cv2.DRAW_MATCHES_FLAGS_DRAW_RICH_KEYPOINTS)


fig = plt.figure()
im_with_keypoints = cv2.drawKeypoints(gray, keypoints, np.array([]), (0, 0, 255), cv2.DRAW_MATCHES_FLAGS_DRAW_RICH_KEYPOINTS)
plt.imshow(cv2.cvtColor(im_with_keypoints, cv2.COLOR_BGR2RGB),
           interpolation='bicubic')

titlestr = '%s found %d keypoints' % (fname, len(keypoints))
plt.title(titlestr)

fig.canvas.set_window_title(titlestr)


ret, corners = cv2.findCirclesGrid(gray, (cbcol, cbrow), flags=(cv2.CALIB_CB_ASYMMETRIC_GRID + cv2.CALIB_CB_CLUSTERING ), blobDetector=detector )
这篇关于在大图像中使用findCirclesGrid()的文章就介绍到这了,希望我们推荐的答案对大家有所帮助,也希望大家多多支持IT屋!
