Angular 2还可以设计可以使用 ngModel 指令进行双向绑定的表单.让我们看看我们如何实现这一目标.
第1步 : 创建一个作为产品模型的模型.创建名为 products.ts 文件的文件.
第2步 : 将以下代码放在文件中.
export class Product {
   constructor (
      public productid: number,
      public productname: string
   ) {  }
}
这是一个简单的类,它有2个属性,productid和productname.
第3步 : 创建一个名为product-form.component.ts组件的产品表单组件,并添加以下代码 :
import { Component } from '@angular/core';
import { Product } from './products';

@Component ({
   selector: 'product-form',
   templateUrl: './product-form.component.html'
})

export class ProductFormComponent {
   model = new Product(1,'ProductA');
}
上述计划需要注意以下几点.
创建Product类的对象并将值添加到productid和productname.
使用templateUrl指定我们的product-form.component.html的位置将呈现组件.
第4步&减去;创建实际表单.创建一个名为product-form.component.html的文件并放置以下代码.
<div class = "container">
   <h1>Product Form</h1>
   <form>
      <div class = "form-group">
         <label for = "productid">ID</label>
         <input type = "text" class = "form-control" id = "productid" required
            [(ngModel)] = "model.productid" name = "id">
      </div>

      <div class = "form-group">
         <label for = "name">Name</label>
         <input type = "text" class = "form-control" id = "name"
            [(ngModel)] = "model.productname" name = "name">
      </div>
   </form>
</div>
关于上述计划需要注意以下几点.
ngModel 指令用于将产品的对象绑定到表单上的单独元素.
第5步 : 将以下代码放在app.component.ts文件中.
import { Component } from '@angular/core';

@Component ({
   selector: 'my-app',
   template: '<product-form></product-form>'
})
export class AppComponent { }
步骤6 : 将以下代码放在app.module.ts文件中
import { NgModule } from '@angular/core';
import { BrowserModule } from '@angular/platform-browser';
import { AppComponent } from './app.component';
import { FormsModule } from '@angular/forms';
import { ProductFormComponent } from './product-form.component';
@NgModule ({
imports: [ BrowserModule,FormsModule],
declarations: [ AppComponent,ProductFormComponent],
bootstrap: [ AppComponent ]
})
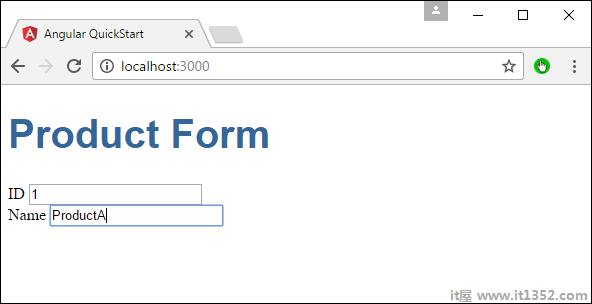
export class AppModule { }第7步 : 保存所有代码并使用npm运行应用程序.转到您的浏览器,您将看到以下输出.